Certificate Course in Medical Imaging 3D Modeling and 3D Printing
Certificate Course in Medical Imaging 3D Modeling and 3D Printing
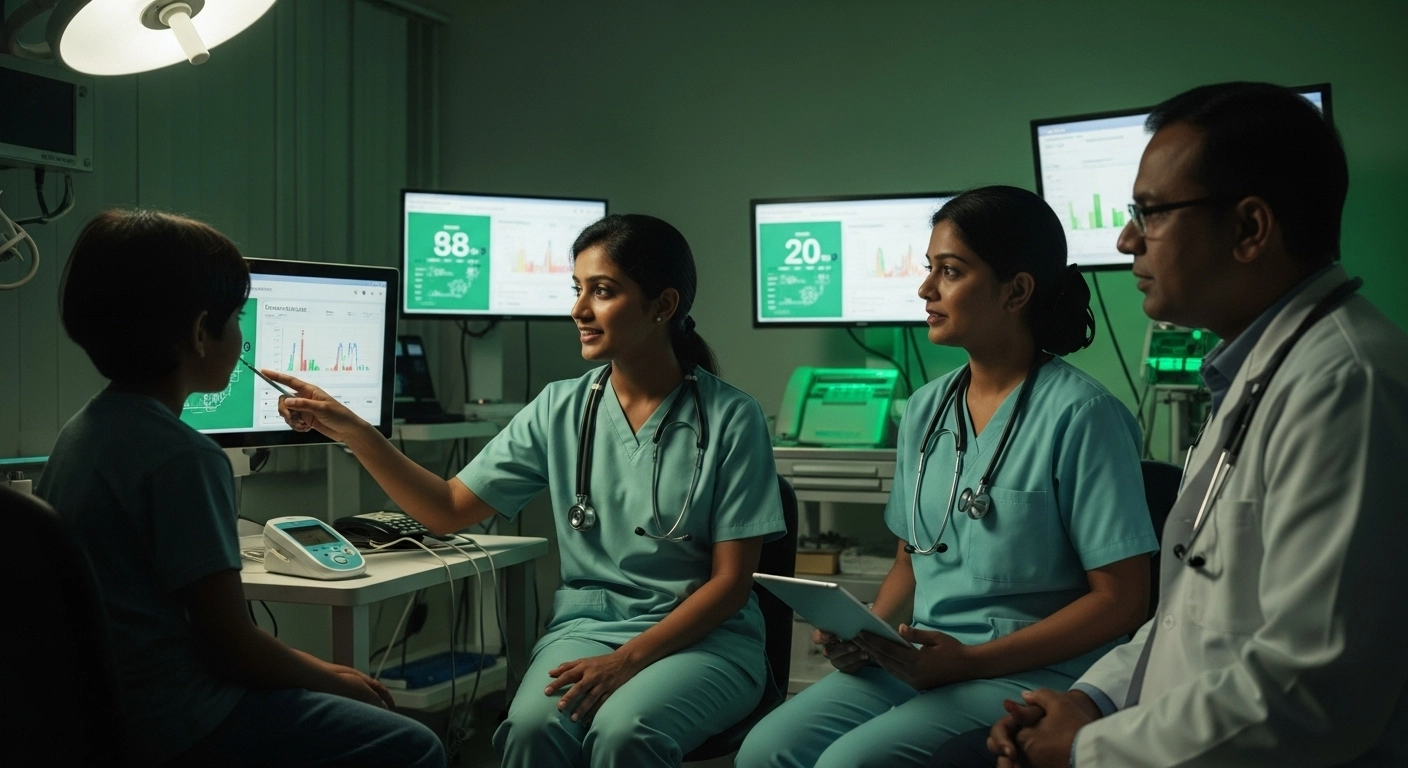
The Certificate Course in Medical Imaging, 3D Modeling, and 3D Printing is designed for healthcare professionals eager to explore the frontiers of medical technology. Accredited by the British...
Duration
1 Month
Credit Points
Learning Hours
CPD Points
CME Points
Courses Completed
Specialties
Overview
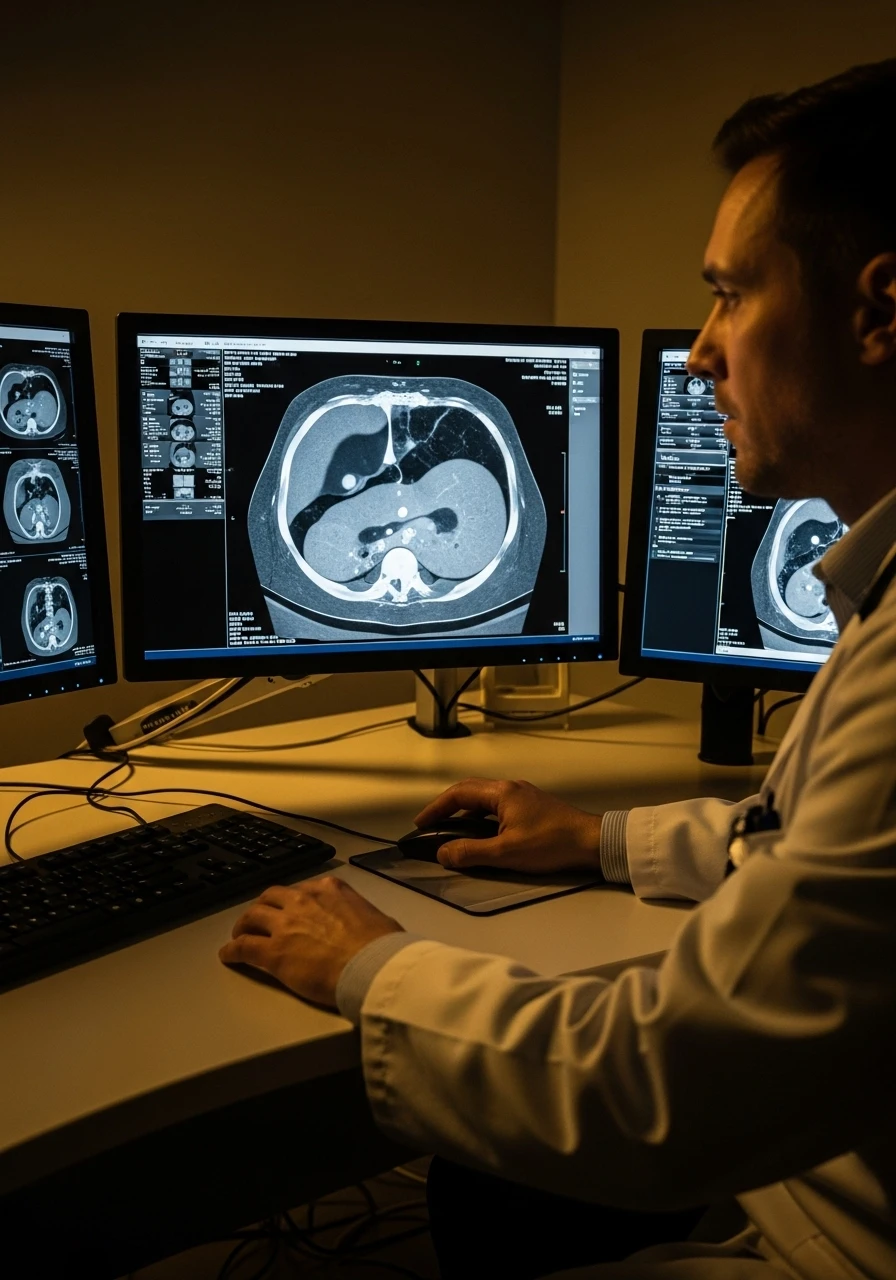
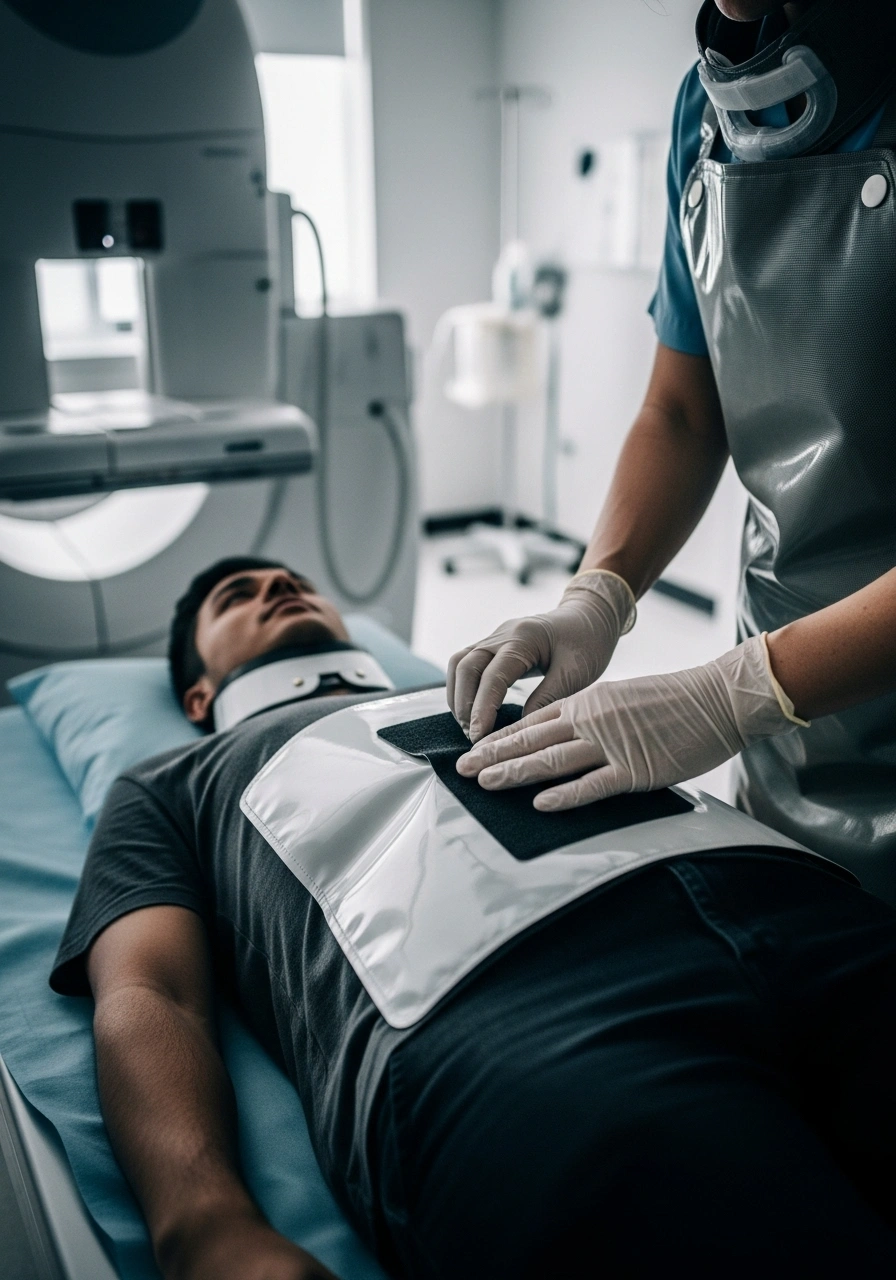
The Certificate Course in Medical Imaging, 3D Modeling, and 3D Printing is an advanced program that delves into the transformative technologies revolutionizing the healthcare industry. This course provides a robust foundation in the use of medical imaging technologies, such as MRI and CT, to create precise and detailed 3D models. These models are invaluable for surgical planning, patient education, and the creation of custom implants and prosthetics.
Participants will gain hands-on experience with open-source software like 3D Slicer and Autodesk Meshmixer, learning to convert imaging data into accurate 3D representations of patient anatomy. The course also covers the preparation and fabrication processes involved in 3D printing, providing a comprehensive overview of different 3D printing technologies and their respective applications.
This course not only equips you with the technical skills to operate 3D printing technology but also enhances your ability to innovate and improve patient care. By learning to produce anatomically accurate models and devices, you can significantly impact surgical outcomes, reduce operation times, and improve overall patient care.
Upon successful completion of the course, you will receive a Certificate in Medical Imaging, 3D Modeling, and 3D Printing, accredited by AHERF and BAC. This certification validates your expertise and positions you at the forefront of medical technology, opening up new opportunities for career advancement in this exciting and rapidly evolving field.
Enroll now and transform your medical practice with the power of 3D technologies!


Eligibility
- Sonology/Radiology Technicians
- BDS or MDS
- MBBS, MD, MS, or DNB
- Ayush
Resources
Recommended Courses

Clinical Imaging
Radiology Training -R-ITI
Ionizing Radiation Medical Exposure Regulations e-IRMER
Curriculum
- •Introduction and Download 3D Slicer
- •Important Disclaimer Base File
- •Download 3D Slicer
- •Overview of Section
- •X-Rays
- •Computed Tomography
- •Overview of Section
- •Metal Artifact Reduction - Median Filter
- •Rejection of Scan
- •Overview of Section
- •Scan Reading Recap and Anatomy Orientation of DICOM Views
- •Reading Spine Anatomy on 2D and 3D
- •Overview of Section
- •The Power is in Your Hands
- •Models Module - Clipping
- •Overview of Section
- •File Fixing
- •Downloading and Installing Meshmixer
- •Overview of Section
- •History and Basics of 3D Printing
- •FDM - Fused Deposition Modelling
- •Overview of Section
- •Downloading and Installing Cura
- •Basic Layout and Alignment
- •Overview of Section
- •Reality - Possibility - Aspiration
- •Closing Remarks
Faculty & Disclosures

Frequently Asked Questions
1. Course enrollment
- How can I enroll in the Medvarsity courses?
You can enroll in a course by clicking on the “Buy Now” option available on the course page that you want to opt for.
- I am not a registered medical professional. Can I still sign up for a course?
To sign up and access a course, you need to be a registered healthcare professional and must upload your certificate or valid license copy in our portal before you sign up for any course.
2. Course delivery
- How to access the course material online?
Go to “medvarsity.com” and login via your mobile number or email id. You will receive an OTP to the registered mobile number or email. Enter the “OTP” and click “Continue” to login. After logging in, click on your profile and go to “My Courses” to access the enrolled course. By clicking “Start” on the course card, you will be directed to the learning page where you can access the content online.
- Can I download the videos to study offline?
Our videos cannot be downloaded as they are available online only. However, you can view the videos at any time within the time frame of the course.
- Are classes available offline?
The entire course content is delivered online through the Medvarsity website “medvarsity.com” in the form of videos, reading material, etc.
- Can I pause a module in the middle and finish it later?
Yes. Once you begin a module, it will be updated in your Medvarsity portfolio under “My Courses,” wherein you can continue and complete the modules at your own pace. However, you should complete it within the time frame of the course.
- Are the courses available in other languages?
All the Medvarsity courses are written and presented in English only.
- How can I get my course duration extended?
To extend the course duration, please write to us at " [email protected] ". You can extend the course duration, however you will be charged based on the extension period needed.
3. Assessments
- How and in what format are the course assessments made?
Assessments are conducted at multiple intervals as the course progresses. Each chapter ends with a multiple-choice quiz.
- What if I am not able to clear the quiz at each level or the final assessment on the first attempt?
You will be given three attempts to clear the quiz at each level. If you are unable to clear the final assessment in three attempts, you will have to pay re-activation fees. Please write us at “[email protected]” for any further queries.
- What if I feel a question is wrongly framed or an answer is wrongly marked in an assessment?
If you feel something is incorrect, you can write us at “[email protected].”
4. Certification
- What certification will I get at the end of the course?
You will get the course certificate upon meeting the completion criteria with a minimum score of 60% in the final assessment. You will receive a certificate from Medvarsity with your name, course name, and completion date, which will be generated in your account. No salutations will be added to the name on the certificate.
- Do I get a hard copy of the certificate?
The certificate is accessible online, where it can also be downloaded and printed.
- What happens if I lose my certificate?
The certificate can be downloaded anytime from your account. However, we can provide the certificate if our team has valid information with proof of completion.
5. Feedback
- What if I have any concerns regarding the program delivery or suggestions to improve the quality of the course?
For any feedback regarding the course, you can write us at “[email protected].”
Course Fee
$115